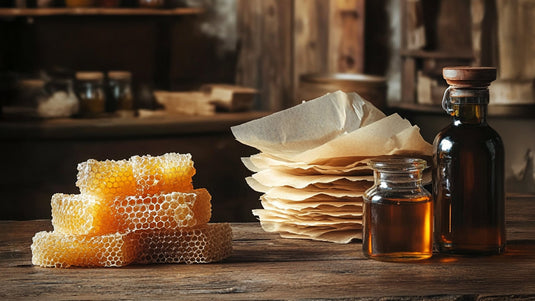
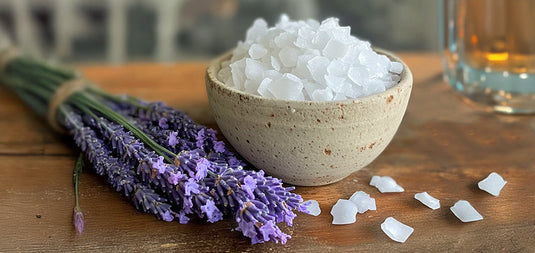
Making beeswax wraps with pine gum rosin is a creative and sustainable way to replace single-use plastic wrap with a reusable, eco-friendly alternative. Adding pine gum rosin gives the wrap a natural stickiness, helping it adhere to containers or seal around food. Here’s a guide to creating your own beeswax wraps with pine gum rosin at home.
Supplies You’ll Need:
-
Cotton Fabric: Use 100% cotton with a tight weave. Cut it to your preferred sizes, such as 8x8 inches for small items, 10x10 inches for medium, or 12x12 inches for larger wraps.
-
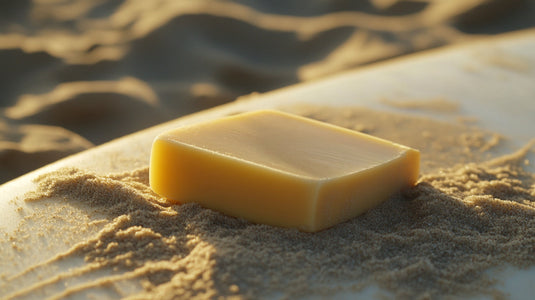
Beeswax Pellets or Blocks: This is the main component for the wax coating.
-
Pine Gum Rosin: Adds natural stickiness, making the wrap more versatile for sealing. You can add either rosin rock or powdered rosin.
-
Jojoba Oil: Keeps the wrap flexible and prevents cracking.
-
Parchment Paper: For protecting your workspace and the baking tray during the preparation and baking steps.
-
Brush: To evenly spread the wax mixture over the fabric, preferably a clean brush that hasn't been used for any other purpose of food applications.
-
Baking Tray: For melting and coating the wax in the oven.
Step-by-Step Instructions
Step 1: Prepare Your Fabric
-
Cut the Fabric: Trim your cotton fabric to the desired size. Common sizes are 8x8, 10x10, or 12x12 inches, depending on what you’ll be wrapping.
-
Pre-Wash the Fabric: Wash and dry the fabric to remove any residual starch or chemicals that may prevent the wax mixture from adhering properly.
Step 2: Make the Wax Mixture
-
Melt the Beeswax and Rosin: In a double boiler, add about 1 cup of beeswax pellets and 1–2 tablespoons of pine gum rosin. Use more rosin for increased stickiness, but keep in mind that too much may make the wraps overly tacky.
-
Add Oil for Flexibility: Add about 1 tablespoon of jojoba or coconut oil. This will give the wraps flexibility and prevent them from becoming too stiff over time.
-
Combine the Ingredients: Heat the mixture over low heat, stirring occasionally until the wax, rosin, and oil are completely melted and mixed together.
Step 3: Set Up Your Workspace
-
Prepare the Baking Tray: Place a sheet of parchment paper on a baking tray to prevent wax drips.
-
Position the Fabric: Lay a piece of fabric flat on the parchment paper, ready for the wax application.
Step 4: Apply the Wax Mixture
-
Pour the Wax Mixture: Carefully drizzle a small amount of melted wax mixture over the fabric. Avoid adding too much at once, as it can create uneven coating.
-
Brush the Wax Evenly: Use a brush to spread the wax mixture across the fabric, ensuring the edges are covered and the coating is uniform.

Step 5: Melt and Set the Wax in the Oven
-
Heat in the Oven: Preheat your oven to 200°F (93°C). Place the baking tray with the waxed fabric in the oven for about 2–4 minutes. This step helps the wax melt and spread evenly across the fabric.
-
Check for Even Coating: After a few minutes, remove the tray from the oven. If you see any dry spots, brush on a bit more melted wax and return it to the oven briefly.
Step 6: Cool and Set the Wrap
-
Lift and Cool: Carefully lift the fabric from the tray and hold it up for a few seconds to cool slightly. Waving it in the air can help the wax set and prevent sticking.
-
Dry Completely: Lay the wrap on a drying rack or hang it up until it’s fully cool and hardened.
Step 7: Repeat for Additional Wraps
-
Repeat the same steps for any remaining pieces of fabric. If the wax mixture begins to harden, simply reheat it over low heat.
How to Use and Care for Your Beeswax Wraps
-
Using Your Wraps: To use the wrap, hold it in your hands for a moment to soften the wax. This will help it become more pliable and ready to seal around food items or over bowls.
-
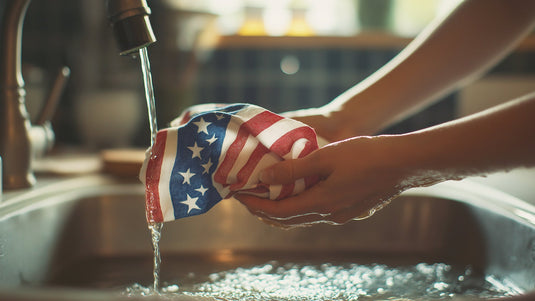
Cleaning: Hand wash your wraps in cool water with a mild soap. Avoid using hot water, as it may melt the wax coating.
-
Refreshing: If your wraps lose stickiness over time, you can refresh them by adding a small amount of wax mixture and reheating them briefly in the oven.
Tips for Making the Best Beeswax Wraps
-
Adjust Rosin for Stickiness: Experiment with the amount of pine gum rosin in small batches. A bit more will increase the clinginess, but too much can make them overly tacky.
-
Choose Fun Fabrics: Pick fabrics with designs that match your style to personalize your wraps.
-
Storage: Keep wraps in a cool, dry place out of direct sunlight, as heat can soften the wax.
Making beeswax wraps with pine gum rosin is an easy and eco-friendly project that reduces plastic use while keeping food fresh. You can customize your wraps with your favorite fabrics and the perfect blend of beeswax and rosin for reusable wraps that can last for months and are compostable when they’re ready to be replaced.


