How To Make Surf Wax With Pine Rosin
Surf wax is an essential tool for any surfer, providing the grip needed to stay balanced and steady on a surfboard. While plenty of commercial options exist, making your own surf wax is an eco-friendly and rewarding project. This guide walks you through creating a DIY surf wax using natural ingredients: beeswax, coconut oil, and pine rosin (or tree resin). Not only is this formula effective, but it also aligns with sustainable and toxin-free living practices.
Ingredients You'll Need
-
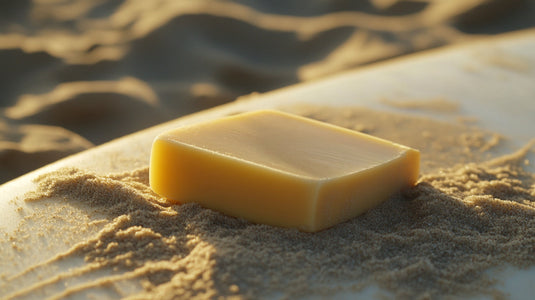
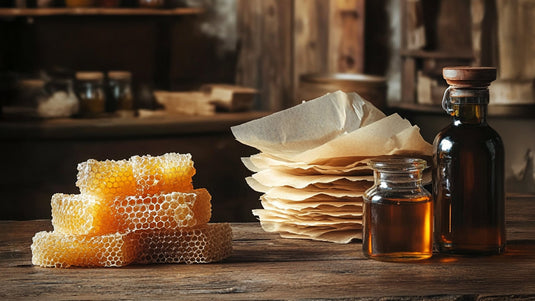
Beeswax (1 cup): Beeswax serves as the base of your surf wax. It’s a natural, biodegradable material that provides the perfect hardness and water resistance.
-
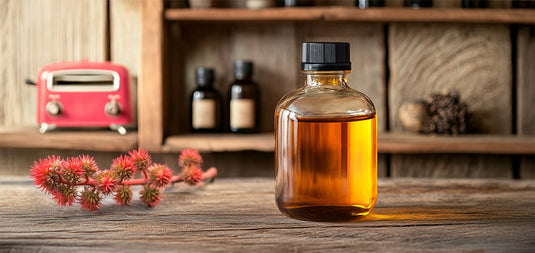
Coconut Oil (1/4 cup): Coconut oil softens the wax, making it pliable and easy to apply. It also adds a subtle tropical scent.
-
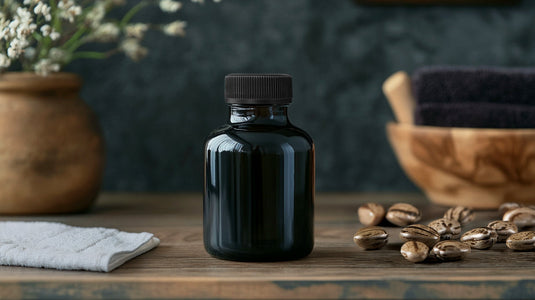
Pine Rosin (1/4 cup): Pine rosin, or tree resin, is the key ingredient for creating the tackiness that ensures your feet grip the surfboard. Ensure it’s clean and free from debris.
-
Optional Additives:
-
Essential oils for fragrance (e.g., lavender or citrus).
-
Natural coloring agents if you want to customize the appearance.
-
Tools You’ll Need
-
A double boiler or heat-safe bowl and saucepan.
-
Wooden stir stick or spoon.
-
Silicone molds or a flat, shallow container for shaping the wax.
-
Grater (optional, for shaping hardened wax).
Step-by-Step Instructions
1. Prepare Your Workspace
Wax and rosin can be sticky, so cover your work surface with newspaper or parchment paper for easy cleanup. Ensure all your tools are clean and ready to use. Working in a well-ventilated area is also essential, as melting resin can release strong fumes.
2. Melt the Beeswax
Use a double boiler to gently melt the beeswax over low heat. If you don’t have a double boiler, place a heat-safe bowl over a saucepan with simmering water. Avoid direct heat to prevent scorching the wax.
3. Add the Pine Rosin
Once the beeswax has fully melted, slowly add the pine rosin. Stir continuously to help it dissolve and combine evenly with the beeswax. Keep in mind that Pine Rosin has a higher melting point than beeswax, so you may need to increase the heat slightly to fully melt down the pine rosin. If you decide to increase the heat make sure to do so slowly to ensure you do not burn the beeswax. This process may take several minutes. Ensure the mixture is smooth and free of lumps.
4. Incorporate the Coconut Oil
Add the coconut oil to the mixture, stirring thoroughly. The coconut oil softens the wax, making it easier to apply once it’s hardened. Adjust the amount slightly if you prefer a softer or harder wax.
5. Customize (Optional)
At this stage, you can mix in a few drops of essential oils for a pleasant scent or add natural coloring agents to personalize your wax. Be sure to stir evenly to distribute the additives throughout the mixture.
6. Pour Into Molds
Carefully pour the hot mixture into your silicone molds or a shallow container. Silicone molds are ideal because they’re non-stick and make it easy to remove the hardened wax. Allow the wax to cool and harden completely at room temperature, which can take several hours.
7. Remove and Shape
Once fully hardened, pop the wax out of the molds. If desired, use a grater to roughen the surface, making it easier to apply to your surfboard. Alternatively, you can shape the wax into a puck-like form for better grip.
Tips for Success
-
Experiment with Ratios: The hardness and tackiness of your surf wax depend on the ratio of beeswax, rosin, and coconut oil. Feel free to tweak the proportions to suit your preferences or the water temperature (harder wax for warm water, softer wax for cold water).
-
Store Properly: Keep your surf wax in a cool, dry place to prevent it from melting or becoming too soft. Use a small tin or biodegradable wrap for convenient storage.
-
Clean Your Tools Immediately: Wax and rosin are sticky, so clean your tools with warm, soapy water before the mixture hardens.
Why Make Your Own Surf Wax?
Creating your own surf wax is a sustainable alternative to commercial options, many of which contain synthetic chemicals and non-biodegradable materials. By using natural ingredients like beeswax and pine rosin, you reduce your environmental footprint and contribute to cleaner oceans.
Additionally, DIY surf wax allows for customization. You can adjust the formula based on water temperature, scent preferences, and even aesthetics, ensuring a product that perfectly matches your needs.
Final Thoughts
Making surf wax at home is an easy and satisfying project that combines sustainability with practicality. With just a few natural ingredients and simple tools, you can create a high-quality surf wax that performs beautifully on the waves. Plus, the process is a fun way to deepen your connection to the surf culture and the environment you cherish. Try it out and see the difference it makes on your next surfing adventure!